


On the microscope
Capture photos and videos, then revisit your discoveries on the built-in touchscreen.

Explore current BeaverLAB special offers on digital microscopes, digital telescopes, accessories, and...
BEAVERLAB
Explore the microscopic world on a 9-inch touchscreen.
Couldn't load pickup availability
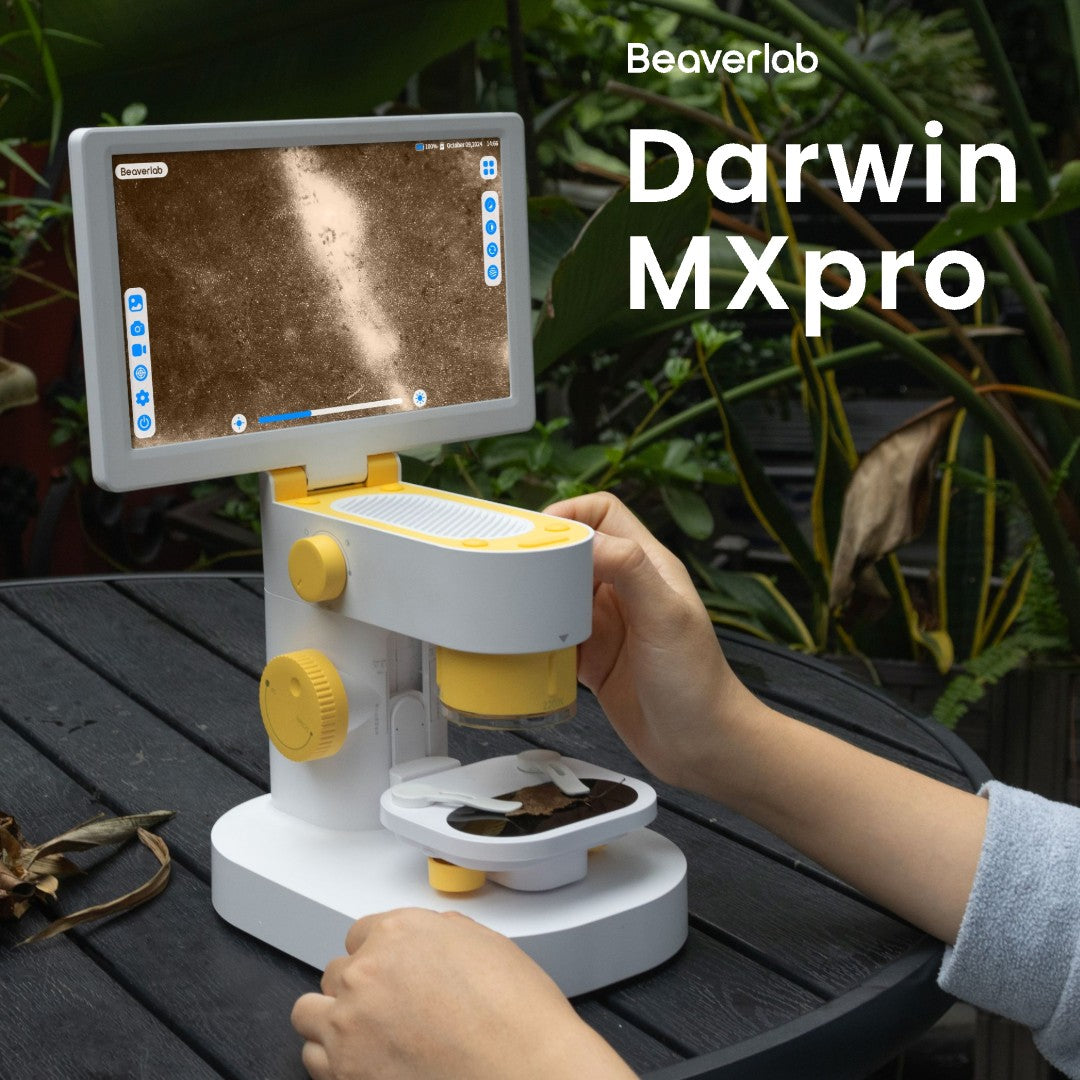
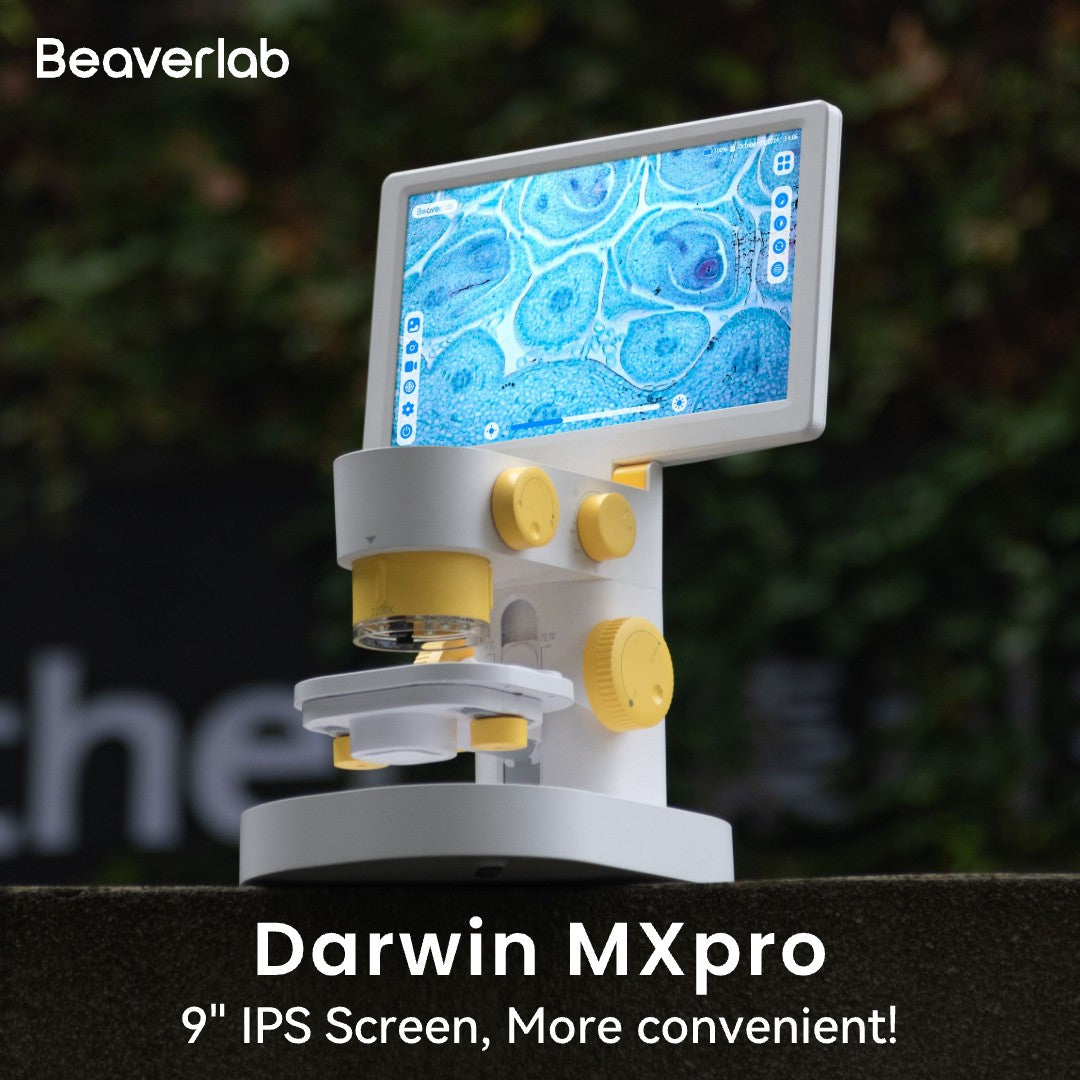
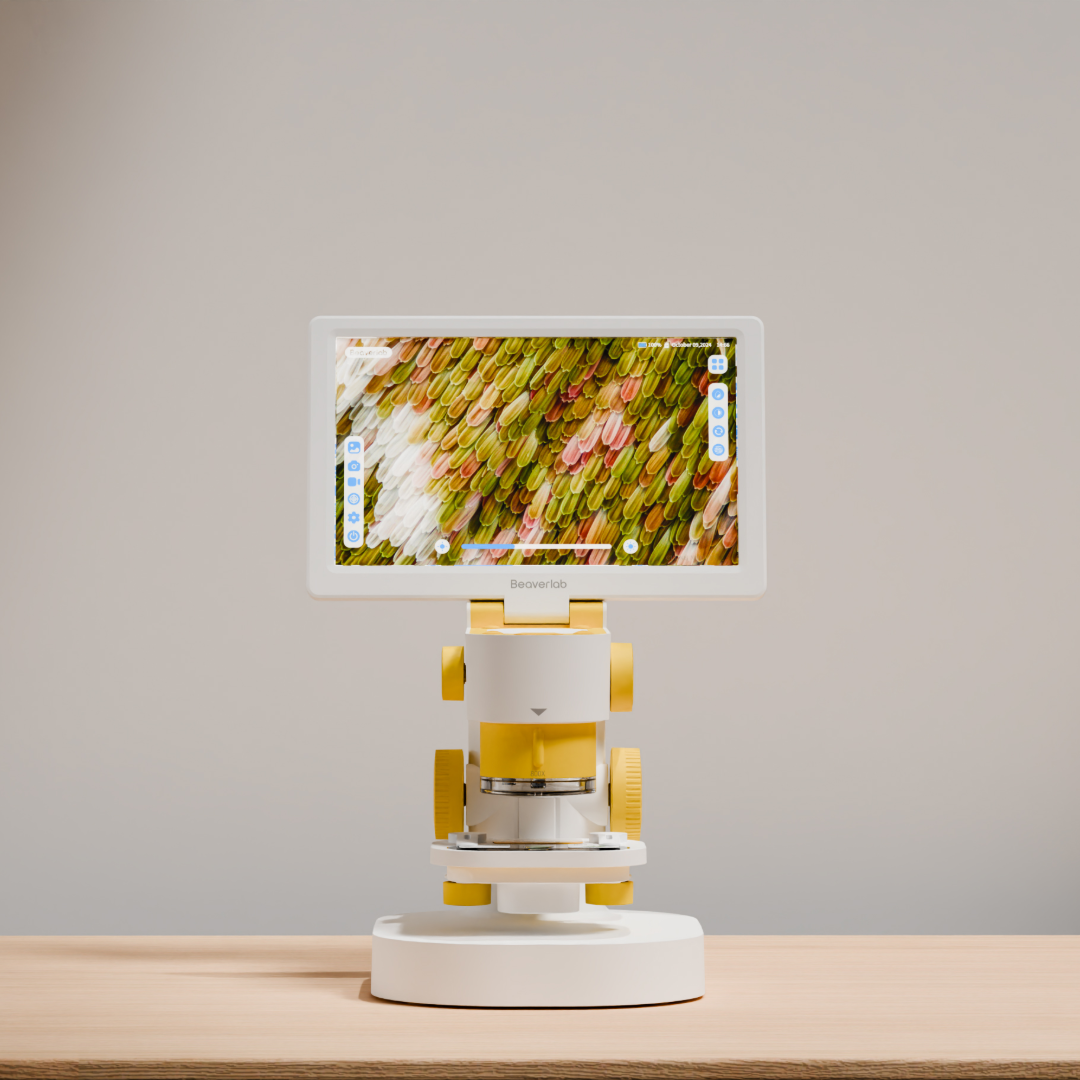
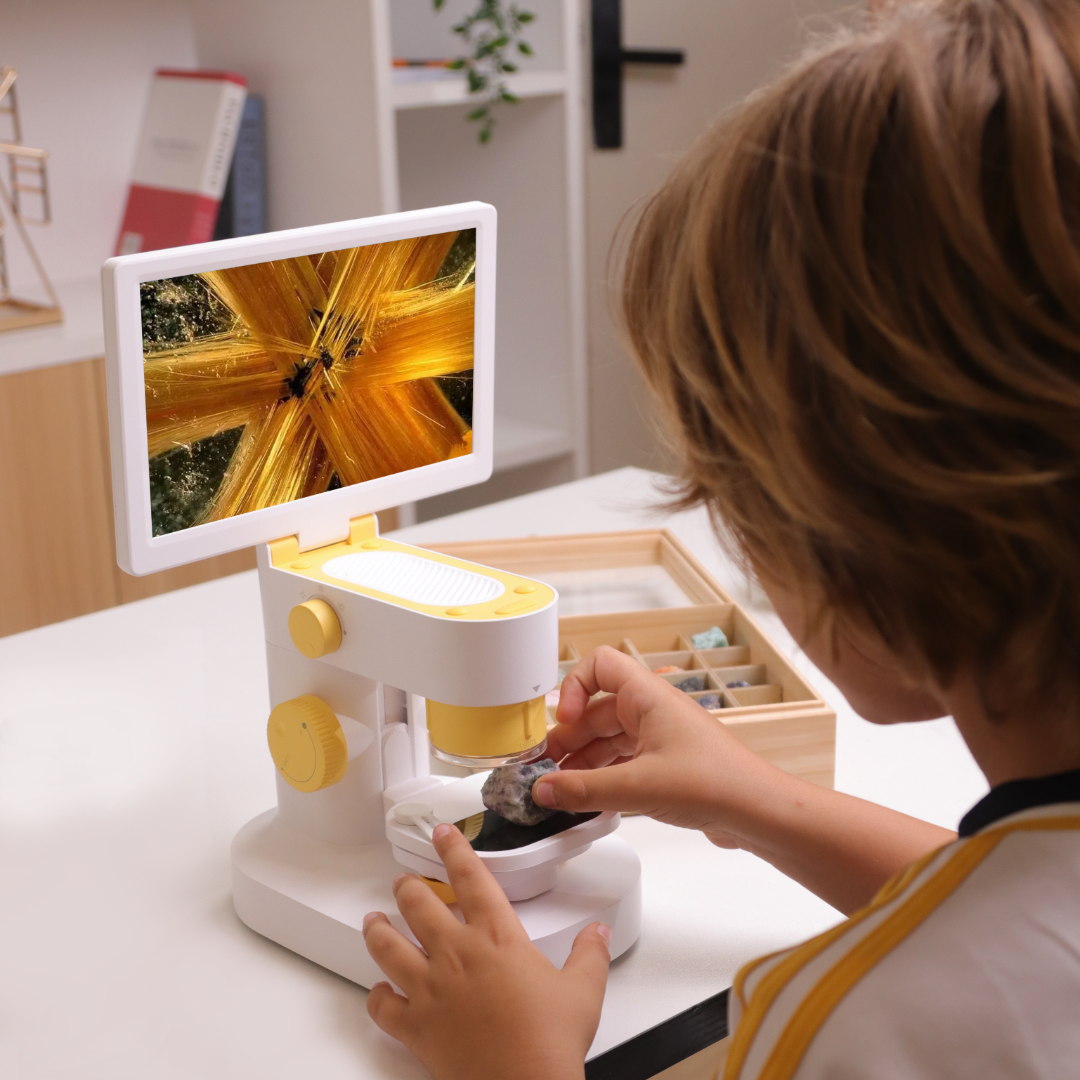



DARWIN MX PRO · DESKTOP EXPLORATION
01 · WHAT YOU CAN SEE
Try a prepared slide, a thin leaf section or a small everyday object. The useful view changes with sample preparation, lens position, light and focus. The demonstration shows the actual observation workflow.

Product demonstration. The pictured screen and video illustrate the workflow; individual specimen results depend on preparation and settings.
Open the demo on YouTube02 · VIEW TOGETHER
Observe directly on the built-in touchscreen. Tilt the screen to suit your seated position, and invite someone beside you to follow the same specimen without taking turns at an eyepiece.

03 · CONTROL THE OBSERVATION
Place your slide, focus by hand, adjust the lighting, and explore the details.


Position your prepared slide on the stage.


Turn the focus knob slowly while watching the screen.


Adjust the illumination to suit your sample.


Reposition the sample to inspect another area.
04 · SAVE AND CONNECT
View on the microscope, connect to your computer, or share on a compatible larger display.
Capture photos and videos, then revisit your discoveries on the built-in touchscreen.
 Illustrative scene
Connect via USB and use MX Pro software to view and work with your observations on a larger screen.

Share your microscope’s view on a compatible larger display over 2.4GHz Wi-Fi.
Wireless sharing requires a compatible receiving device and setup.
05 · CHOOSE YOUR MICROSCOPE
Start with how you like to observe.

06 · IN THE BOX & FIRST USE
Meet your MX Pro kit and get ready for your first observation.

1 × Darwin MX Pro microscope
Place the microscope on a stable desk, open the screen, and power it on.
Position a prepared slide, adjust the lighting, and focus by hand.
Explore the specimen and save a photo or video.
07 · CUSTOMER EXPERIENCE
Read the product's customer reviews below. Observation examples and personal experiences can vary by specimen and setup.
08 · BEFORE YOU BUY
Check the setup, storage and connections that matter for your first observation.
No. Choose an objective position, move the stage and turn the focus knob manually while watching the image on the screen.
Place a prepared slide or a suitable small object on the stage. Thin, transparent specimens work with light from below; opaque objects can use light from above. Position the specimen, choose the lens and adjust focus and lighting.
Yes. Capture JPG photos and MP4 videos, then review them on the built-in touchscreen.
Connect to a computer via USB using MX Pro software. For wireless sharing, use a compatible display and setup over 2.4GHz Wi-Fi. Find Windows and macOS downloads on the software page.
The kit includes one Darwin MX Pro microscope, 10 prepared biological slides, two specimen clips, one USB data cable, and one user manual.
Put the microscope on a stable desk, open the screen and power it on. Remove the lens cover, place a prepared slide on the stage, position and raise the stage, select a lens, then adjust the light and manual focus. Capture an image once the view is clear.
For setup guidance, see the MX Pro manual. If you need further help, contact our support team with your order number and a brief description of the issue.
The three optical settings are 16×, 60× and 100×. On-screen enlargement also depends on the display settings. Visible detail depends on the specimen, lighting and focus.
09 · KEY SPECIFICATIONS
Display, controls, capture, and connectivity at a glance.
DARWIN MX PRO
Current price: $359.00


